
Configuring the Brooktrout TR1034 Fax Board
Cypress enables customers to fax documents at high speeds over high-bandwidth connections, such as ISDN and T1, by supporting the Brooktrout TR1034 fax board. This topic identifies the telephony information you need to collect to allow you to configure the driver and firmware for this Brooktrout board installed on the Cypress server and provides the steps required to configure the board.
To configure the Brooktrout fax board
- Contact the telephone company that provides the PRI-T1 (phone line) service and gather the information in this table:
|
Information |
United States (example) |
Europe (example) |
|
Signaling Type |
T1-RBS T1-PRI |
E1 |
|
Frame Mode |
Extended Super Frame (recommended by ASG) Super Frame D4 |
CRC-4 Multiframing (recommended by ASG) Single Frame |
|
Line Coding |
B8Z8 (recommended by ASG) AMI |
HOB3 |
|
Clock Master |
Network/telco master (strongly recommended by ASG) Brooktrout board master |
N/A |
|
Compatible Switch Type |
ATT #4 ess ATT #5 ess Northern Telecom DMS-1001 |
N/A |
|
Compatible Variant Type |
ATT PUB 41449 Northern Telecom NIS 8211-1 |
PRI only Euro ISDN |
- Power off the Cypress server before you perform the remaining steps.
- Set the gray dial on the fax board to 2. If you are adding multiple boards to one server, set each board to a different number (e.g., 3, 4, and 5).
- Install the board(s) in the server slots.
- Connect the T1 lines to the boards.
- Power up and boot the server.
When the server starts, the Windows Add Hardware wizard should display automatically.
- When the Add Hardware wizard prompts you for a driver, click the Have Disk... button. When the Install from Disk... dialog appears, click Browse... and browse to the Drivers directory of the zip file that Cypress supplied.
- Click Next> to install the driver.
- After the wizard finishes loading the driver, click Finish to complete the installation.
- Copy the configuration and firmware files and subdirectories in the Server directory of the zip file into your Cypress\Server\Brooktrout directory.
- Navigate to the Config subdirectory, and double-click the configtool.exe icon to start Brooktrout’s configuration application.
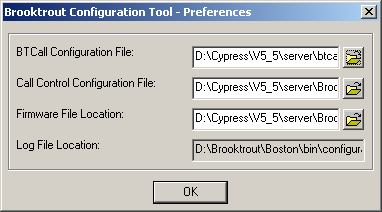
- Select the path for the Brooktrout configuration and firmware files in the Brooktrout Configuration Tool - Preferences dialog.
- Configure this application according to your system’s requirements. If you have any questions, contact ASG Customer Support or your network administrator.
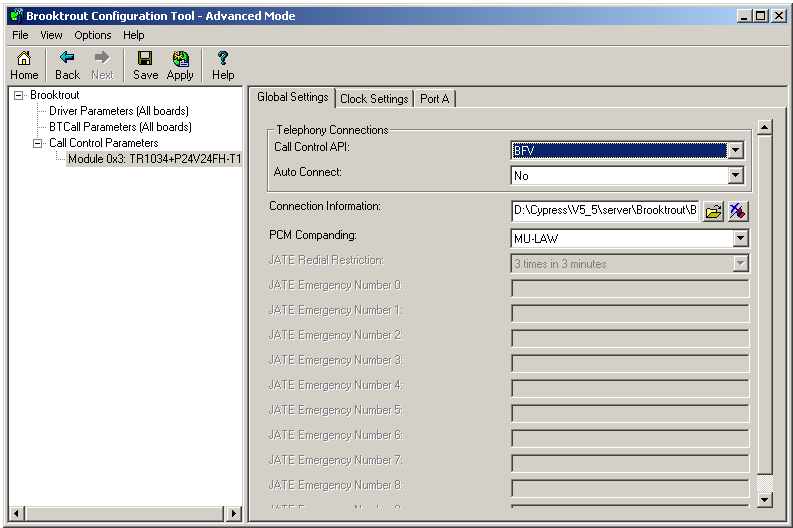
This example illustrates global settings:
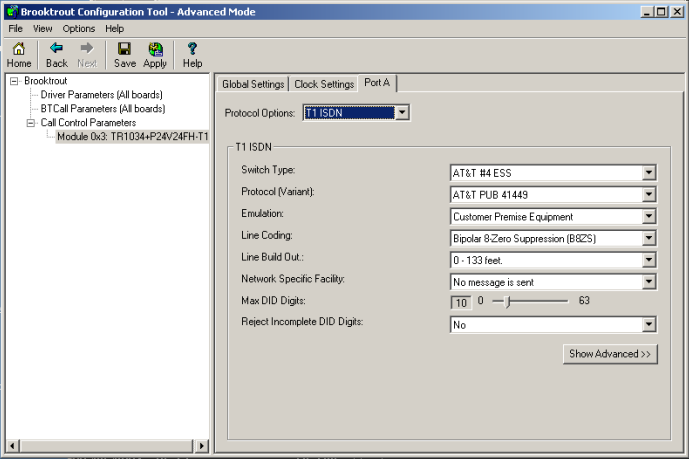
This example illustrates Port A settings:
- When you finish configuring Brooktrout, create a Cypress.Fax device and select bt_1034 from the Device DLL drop-down list. For more information on creating a Cypress.Fax device, see Creating a Fax Device.
- Open the Windows Control Panel and double-click the Modem and Phone Options icon to configure the server’s Windows dialing rules. Enter the local area code and any other necessary parameters, such as outside line access or 10-digit dialing rules.
- Test the final configuration by printing documents to the new Cypress.Fax device using the Cypress Windows capture driver. Open the Cypress Enterprise Output Manager to monitor progress, and verify that the fax was delivered to the device.