Using Stitching Data
Manual stitching enables you to trace data lineage through extra hops (that is, virtual relationships between source and target objects that will be used to resolve the data lineage) that you previously specify, which correspond to links that CAE will not generate because either they are of a technology not supported by CAE or they represent a manual process in the data processing.
To perform data lineage through extra hops, you first define stitching data and then use it in the propagation definition.
Creating a Stitching Data Definition
To create a Stitching Data definition
- From the menu bar, select File
 New
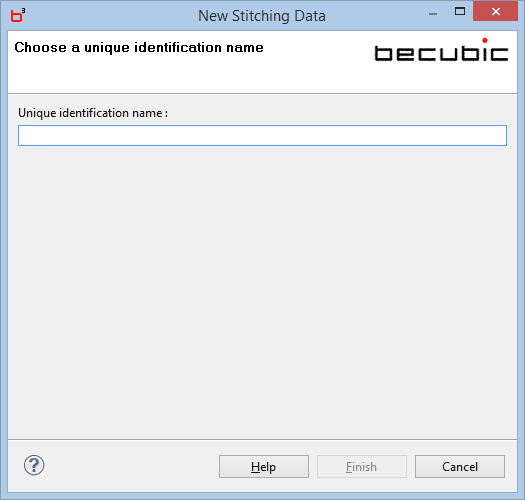
New Stitching Data. The New Stitching Data window opens:
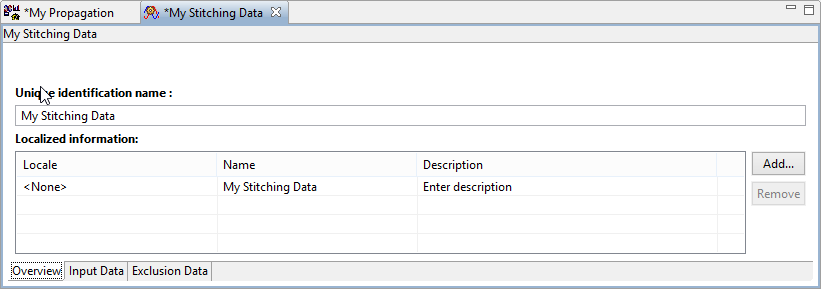
 - Enter a name or an identifier for the new stitching data definition in the Unique identification name field and click Finish. A StitchingData object is created and the initial view of the Overview tab of the Stitching Data Manager opens:
- Optional. Define localized name(s) as required.
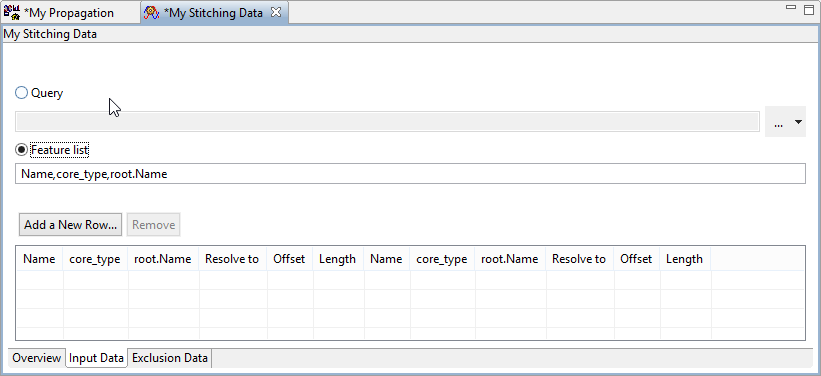
- Click the Input Data tab:
- Select one of the options (that is, Query or Feature List) and specify the required parameters.
- Click the Query option.
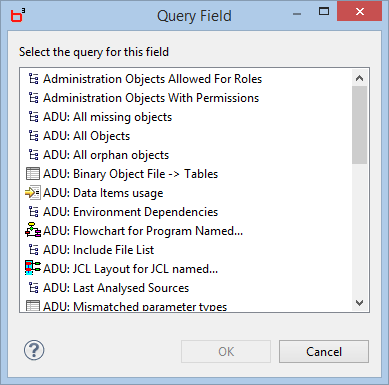
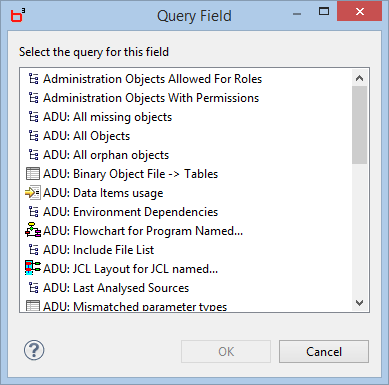
- Click [...] to open the Query Field window:
- Click the required query and click OK.
- Click the Features List option.
- Edit the list of features separated by a comma (
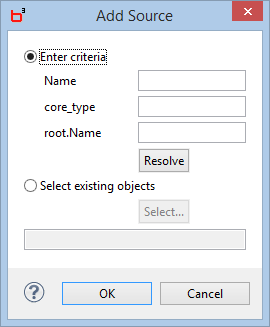
,). Initially, the field is filled in withName,core_type,root.Name. - Click Add a new row to specify the source and target objects of the stitching data. The Add Source dialog opens:
- If the selected query uses variables, the Add Source dialog displays the fields that correspond to the variable names.
- If you use the Feature List option, the Add Source dialog displays fields that correspond to the specified features.
- For the Feature List option, you also have the Select existing objects option, which enables you to select the objects manually in a Quick Search-like dialog.
- Enter the criteria values in the displayed fields and click Resolve.
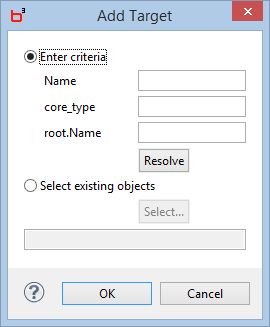
- Click OK. The Add Target dialog opens:
- Enter the criteria values in the displayed field and click Resolve.
- Click OK. The selected source and target objects are added to the stitching data list.
- Optional. Double-click in the Offset an Length column of the source and target objects if you want to restrict the resolution of the stitching hops by the data offset or data length.
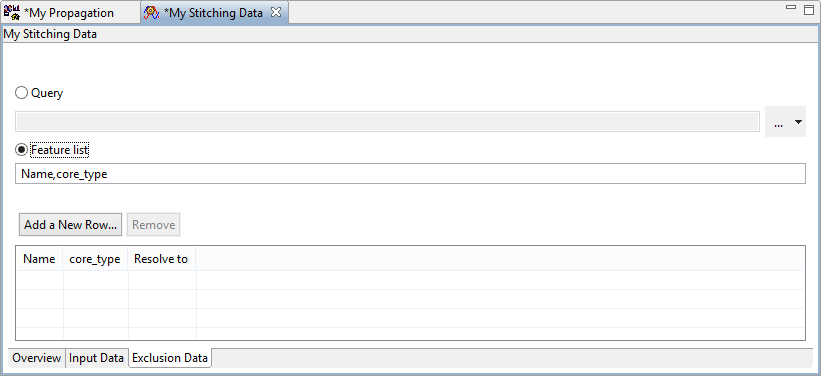
- Optional. If you want to exclude data from being used as the stitching hops, click Exclusion Data tab:
- Select one of the options (that is, Query or Feature List) and specify the required parameters.
- Click the Query option.
- Click [...] to open the Query Field window:
- Click the required query and click OK.
- Click the Features List option.
- Edit the list of features separated by a comma (,). Initially, the field is filled in with Name,core_type.
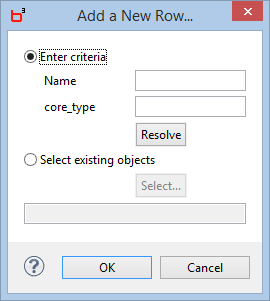
- Click Add a new row to specify the objects to be excluded from the stitching data. The Add a New Row dialog opens:
- Enter the criteria values in the displayed fields and click Resolve.
- Click OK.
- Click
 on the toolbar to save your stitching data definition.
New Stitching Data window
Overview tab of the Stitching Data Manager
Input Data tab of the Stitching Data Manager
With the Query option:
Query Field window
Or
With the Feature List option:
Add Source dialog
Or
Click the Select existing objects option and select the objects you want.
Add Target dialog
Or
Click the Select existing objects option and select the objects you want.
Exclusion Data tab of the Stitching Data Manager
With the Query option:
Query Field window
Or
With the Feature List option:
Add a New Row dialog
Or
Click the Select existing objects option and select the objects you want.
Editing an Existing Stitching Data Definition
To edit an existing Stitching Data definition
- From the menu bar, select becubic
 Key becubic Objects
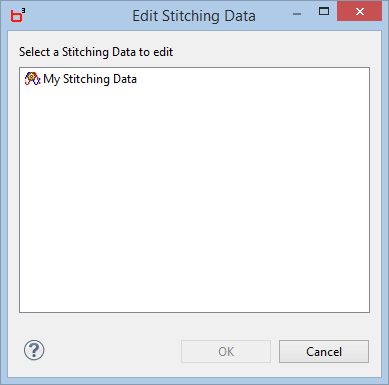
 Edit Stitching Data. The Edit Stitching Data dialog opens:
 - Click the Stitching Data definition you want to edit and click OK. The Stitching Data Manager opens.
- Edit the definition as required, then save it. See the topic Creating a Stitching Data Definition for details.
Edit Stitching Data dialog
Viewing the Resolved Objects
You can verify the resolved object of your stitching data definition. This is notably useful when a stitching data definition is resolved to multiple objects because the Resolve to column displays only the number of objects.
To view the resolved objects
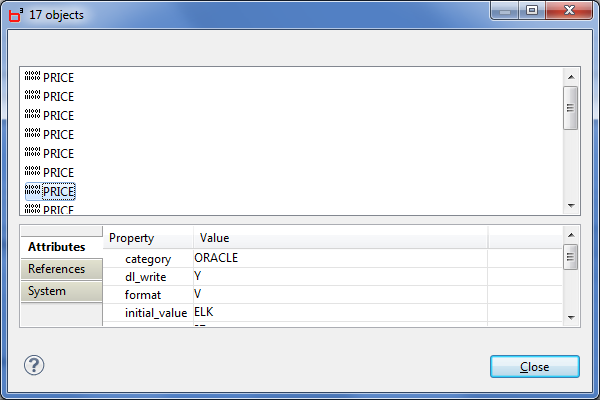
- On either the Input Data or the Exclusion Data tab, double-click the Resolve to column of the stitching definition for which you want to verify the resolved object. The Resolved Object dialog opens and shows all the resolved objects:
- Click an object to display its properties.
- Click Close.
Resolved Object dialog
