Configuring Connections to Servers and Databases
Metability’s Connection Manager is a tool for managing connections to DI Servers and databases. You can use it to perform these functions:
- Establish connections
- Sever connections
- Edit connections
- Restore the default settings
To open Metability’s Connection Manager
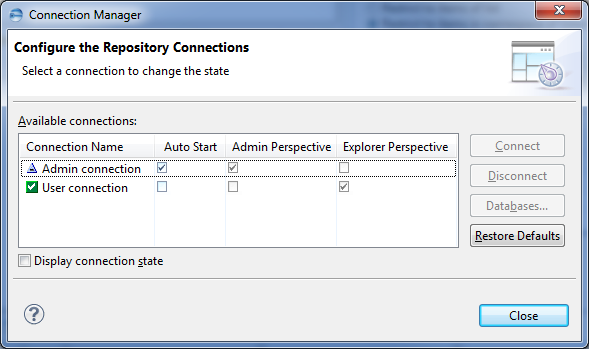
| > | Select Metability Connection Manager to open the Connection Manager window: Connection Manager to open the Connection Manager window: |

The Available connections list displays these details for each connection:
- The name of the connection.
- A check box to specify if the connection should be opened automatically when Metability is started.
- Check boxes that display for which perspective the connection is configured in the Metability dataspace.xml file.
- The current status of the connection if you selected the Display connection state check box.
If the list is empty, no connections have been defined yet. In that case, contact your administrator.
The icon to the left of each connection name characterizes its connection status:
| Icon | Description |
|---|---|
|
|
Active connection to server. |
|
|
No connection to server. |
|
|
Active connection to server, but database access is not possible (user not recognized as a valid user in the databases). |
|
|
Unable to connect to server (server not running, wrong password, or no valid user account). |
The command buttons on the right side of the window provide access to the functions offered by Metability:
| Command | Function |
|---|---|
|
Connect |
Establishes a connection |
|
Disconnect |
Severs a connection |
|
Databases |
Opens a dialog for selecting the databases for the connection |
|
Restore Defaults |
Restores the default connection settings |
The Close button in the lower right corner of the window allows you to confirm the present state of all connections and close the window. Using the Help button, you can access Help information for questions concerning Connection Manager.
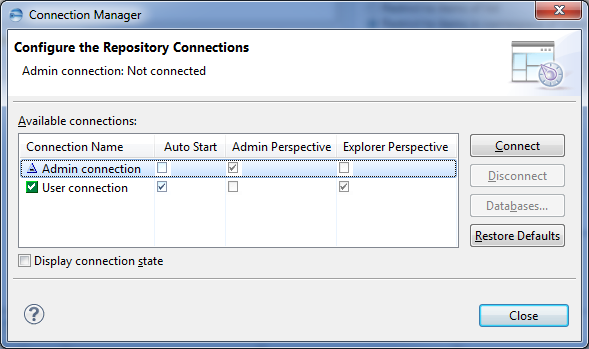
- In the Connection Manager window, select the connection you want to open from the Available connections list:
- Click Connect.
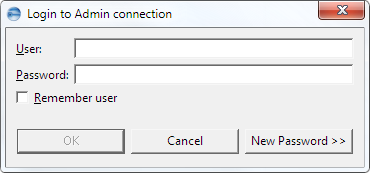
- Type your user ID and password (if password-enabled), and click OK.

Connection Manager will respond with a login dialog:

- In the Available connections list, select the connection you want to close.
- Click Disconnect.
- Click Yes to close the connection.
A confirmation dialog is displayed.
To select the databases to which you want to connect
- In the Available connections list, select the connection for which you want to select the databases.
- Click Databases.
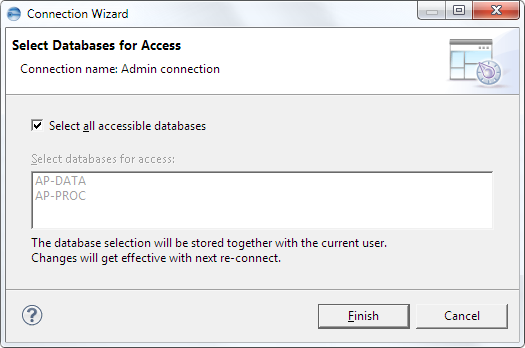
- Select the Select all accessible databases check box to connect to all databases.
- Click Finish to save your settings.
The Select Databases for Access page of the Connection Wizard is displayed.

Or
Clear the check box and then select the databases to which you want to connect.
To restore the default settings
- Click Restore Defaults.
- Click Yes to restore the initial configuration
A confirmation dialog is displayed.

Or
Click No to preserve the current configuration.


