Creating Snapshot Configurations
Before you can create a snapshot, you must create a corresponding snapshot configuration that specifies which items will be included in the snapshot.
To create a snapshot configuration
- In the Version Management pathway, click New Snapshot Configuration.
- Enter a name and description for the snapshot configuration.
- Enter the number of delta snapshots that are allowed per baseline snapshot. The default value is 365 delta snapshots. The valid range for this option is 1 to 1000. For more information on delta snapshots, see Understanding Delta Snapshot.
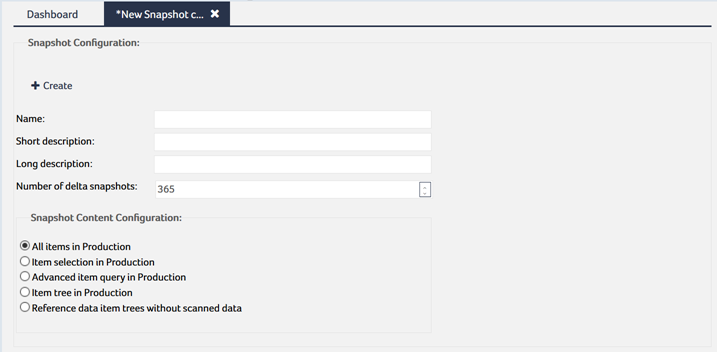
- Specify which items you want to include in the snapshots:
- All items in Production: Includes all items of the production area in the snapshots. Skip to step if you select this option.
- Item selection in Production: Includes only selected items in the snapshots.
- Advanced item query in Production: Includes the items that result from a specific query. If you select this option, specify the SDCAC query in the field that becomes available, and skip to step .
- Item tree in Production (select root items): Includes selected root-level items and any item in their namespace in the snapshots.
- Reference data item trees without scanned data (select root items): Includes selected root-level data contexts and all their subcontexts and data concepts.
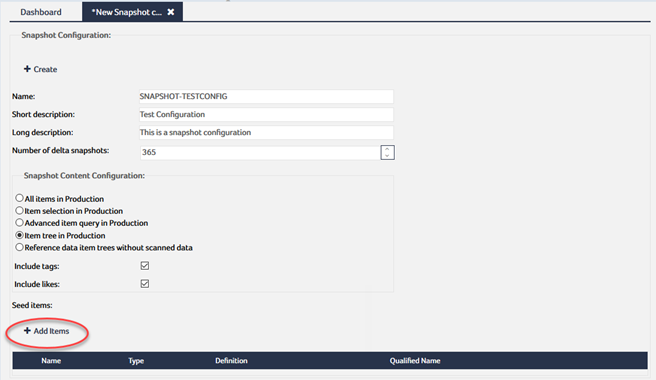
- Perform these steps to specify an item that you want to include in the snapshots:
- Under Seed Items, click Add Items:
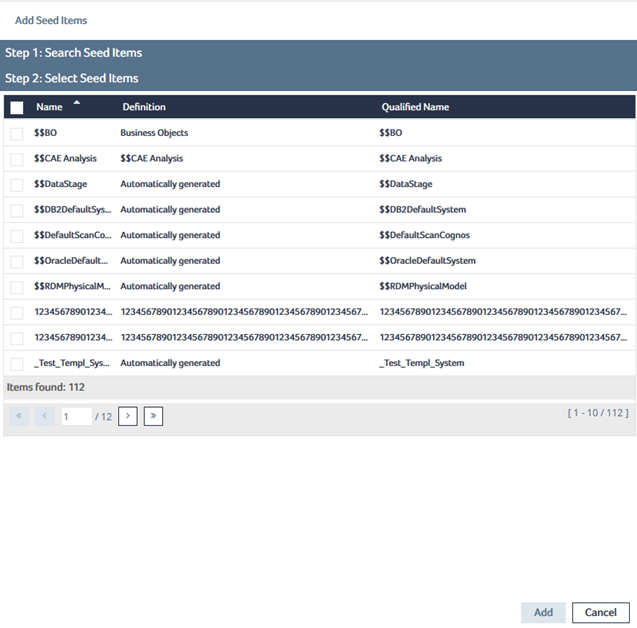
- In the Name field, enter a search term for the item that you want to include.
- From the Type drop-down list, select the type of the item.
- Click Search.
- Select the item that you want to include, then click OK.
- Repeat step through step for each additional item.
- Click Create to create the snapshot configuration.
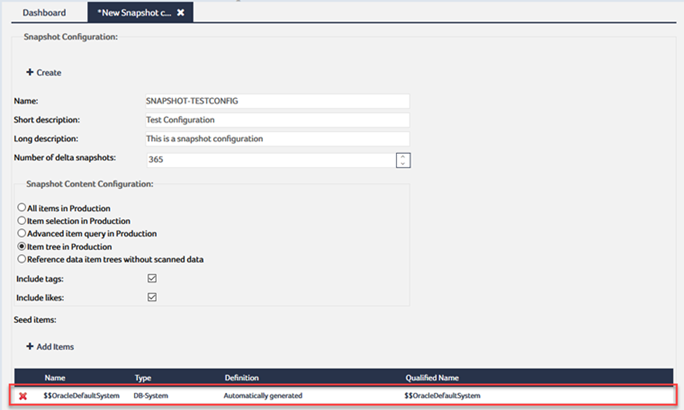
The New Snapshot Configuration dialog opens:
For more information on SDCAC, see the description for the QuerySdcac class in the Java API online documentation.
The Add Seed Items dialog opens:
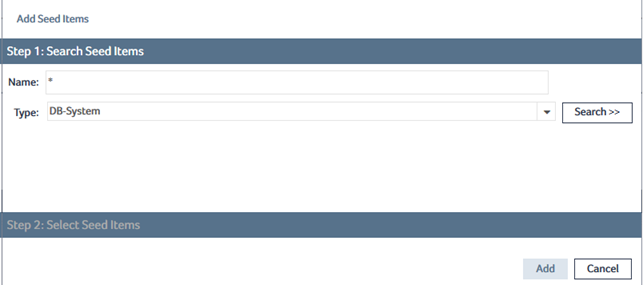
The matching items are listed:
The item is added to the Seed Items table:
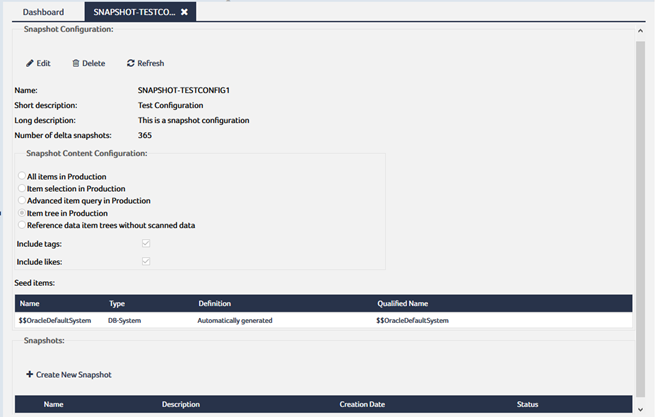
The newly created configuration opens in the Snapshot Configuration dialog:
To edit a snapshot configuration
- In the Version Management pathway, click the snapshot configuration that you want to edit.
- Click Edit.
- Modifying the description for the snapshot configuration.
- Switching to a different method for specifying the items for the snapshots.
- Adding additional items for the snapshots
- Removing items from the Seed Items table
- Modifying the SDCAC query that identifies the items for the snapshots
- Edit the snapshot configuration as required.
- Click Save & Exit to save your changes and end the edit mode.
The configuration opens in the Snapshot Configuration dialog:

The dialog switches to edit mode:
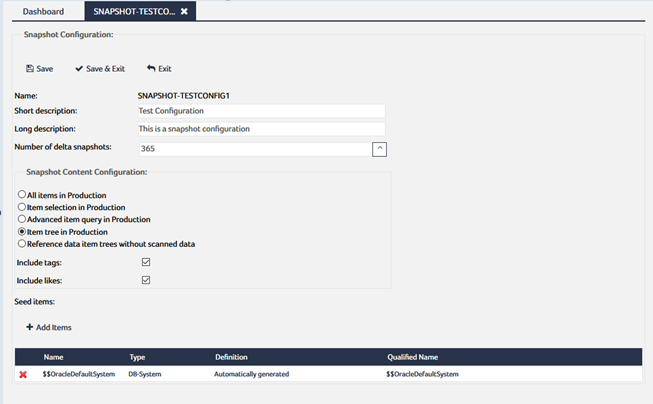
The edit mode provides these editing options:
Depending on the selected method, these additional options are available:
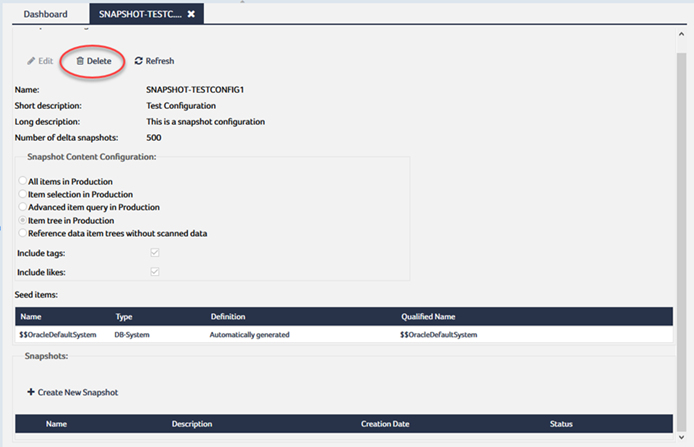
To delete a snapshot configuration
- In the Version Management pathway, click the configuration you want to delete.
- In the Snapshot Configuration dialog, click Delete:
- Confirm the deletion.