
Creating Snapshots
- In the Version Management pathway, click the snapshot configuration for which you want to create the snapshot.
- In the Snapshot Configuration dialog, click Create New Snapshot:
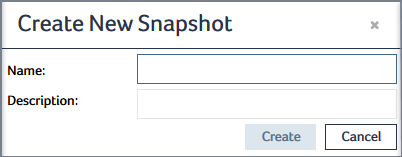
- Enter a name and a description for the snapshot, then click Create.
- Server is older than Version 8.
- Server privileges are not enough to run this process in background.
- RPC service is not installed.
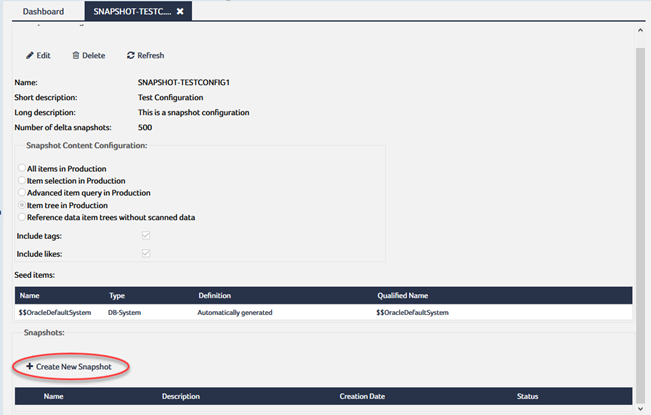
The Create New Snapshot dialog opens:
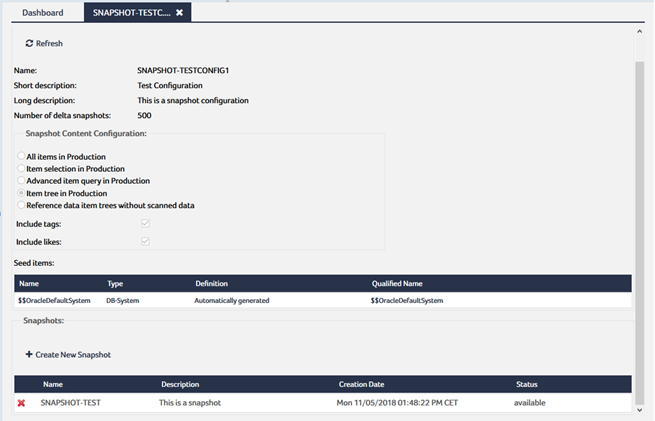
The snapshot is added to the Snapshots table:
Creating the first snapshot for a snapshot configuration might require some time because the initial snapshot contains a complete backup of all seed items, including their entire attribute contents. Subsequent snapshots can be created in significantly less time, as they contain only the changes that were made since the last snapshot creation. For more information on delta snapshots, see Understanding Delta Snapshots.
Snapshot creation or deletion, which could take a while, may not be proceeded in background for one of the following reasons:
You are prompted to confirm the action.
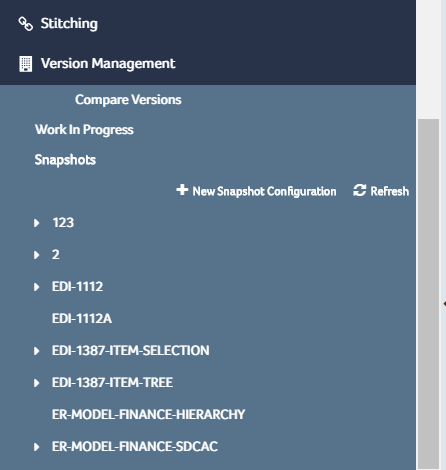
The newly created snapshot also is listed under its snapshot configuration in the Version Management pathway:
- In the Version Management pathway, expand the snapshot configuration that contains the snapshot you want to open, and click the snapshot.
The snapshot is selected as the current environment:

Some features are not available as long as a snapshot is open:
- Snapshots are read only. All editing options, therefore, are disabled.
- The pathways in the navigation area, favorites entries, queries, and item searches apply only to the contents of the snapshot.
- The issue management facility is not available.
- metaGlossary- and metaRDM-specific functions are disabled.
- In the menu bar, select Production from the drop-down list next to the environment indicator:
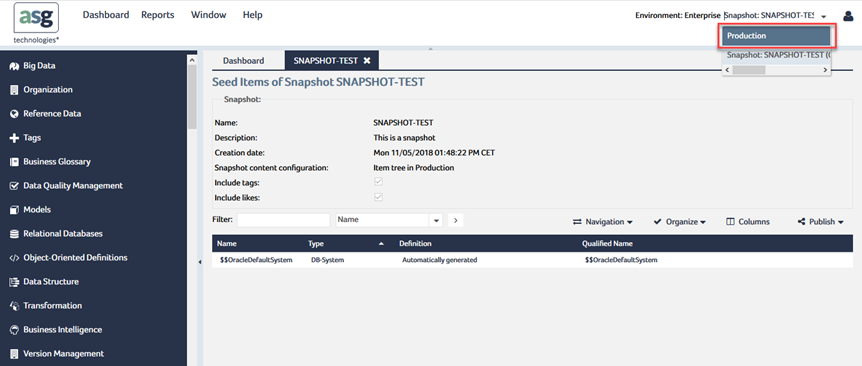
The snapshot is closed and you are switched back to the production area.