
Using the Work Area
The Work Area window enables you to assemble objects from different views (for example, query or quick search results) for the duration of a session.
To open the Work Area
- Click
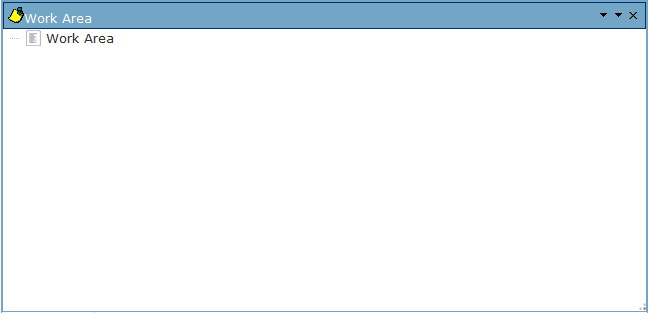
 at the top of the left frame. The Work area window opens in the main frame:
Reorganize windows so you can access the Work Area and the view that contains the objects you want to place in it at the same time. See Manage Windows Menu for information on possible actions to organize multiple windows.
To place an object in the Work Area
- Display the object you want to place in the Work Area (for example, in Type Browser or a query result view). You can use Ctrl+click or Shift+click to select multiple objects.
- Drag and drop it in the Work Area.
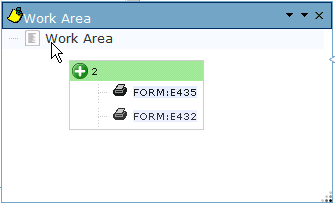
You must mouse over the Work Area item to be able to add objects to the Work Area. The header of the container becomes green when you can drop the objects as shown in this example:
To remove an object from the Work Area
- Click the object you want to remove from the Work Area. You can use Ctrl+click or Shift+click to select multiple objects.
- Press the Del key or right-click and select Remove from Work Area on the context menu.
The Work Area is context-sensitive. You can perform any object contextual actions (that is, actions accessible via a right-click) in the Work Area (see Operations Available in the Right Frame for details on all possible menu options). Double-clicking an object in the Work Area launches the default action depending on the object type.